Reusable Blocks easily accessible with this guide to using and managing in Gutenberg.
They are one of my favorite features in the Gutenberg block editor. They allow you to create content once and reuse it across multiple pages on your site. This is incredibly useful for maintaining consistent content without having to update each page individually.
What are Reusable Blocks?
They allows you to write content once and use it on more than one page of your site. If you update the existing block on any page, it will automatically update everywhere, keeping them in synchronizing. This feature is particularly useful for site-wide elements like call-to-action sections, contact information, or service lists.
These blocks are stored as posts in a custom post type (wp_block). When you create a reusable block, it adds that block to a new post in this custom post type. This means you can manage your blocks list just like any other content on your site.

How to Create Reusable Blocks
- Add a Block: Start by adding any block to your page.
- Add to Blocks: Click “Add to Reusable Blocks”.
- Name Your Block: Give your reusable block a title and click “Save”.
- Edit Content: You can click “Edit” to add additional content to your reusable block.
When you insert a block into a page, it references the reusable block’s post ID. This ensures that any updates to the reusable block will be reflected across all instances where it is used.
For example, on GBC Law Group’s website, we use a “Practice Areas” reusable block that contains multiple “Service” blocks. This allows us to update the list of services in one place, and the changes are automatically applied site-wide.
Managing Blocks
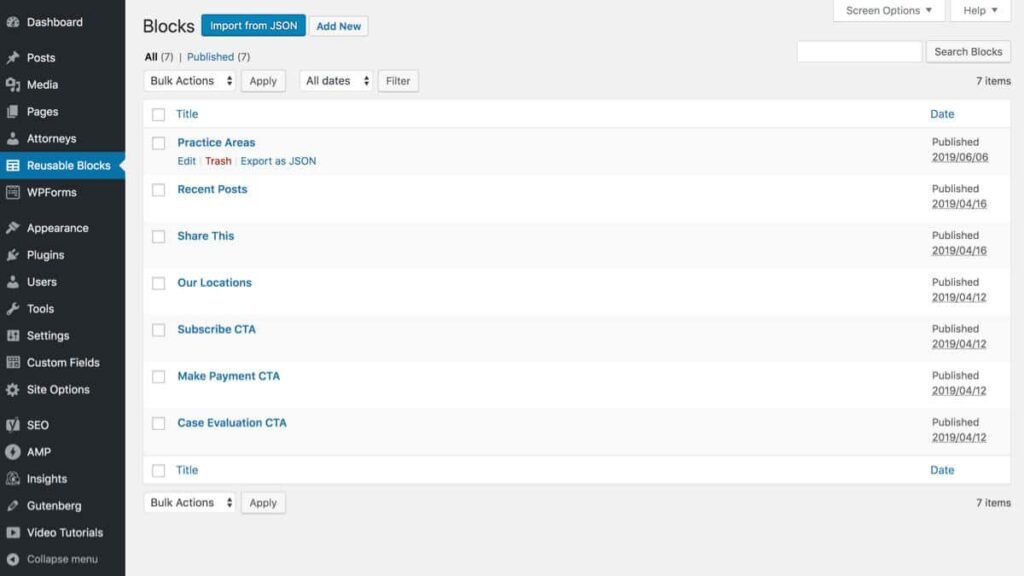
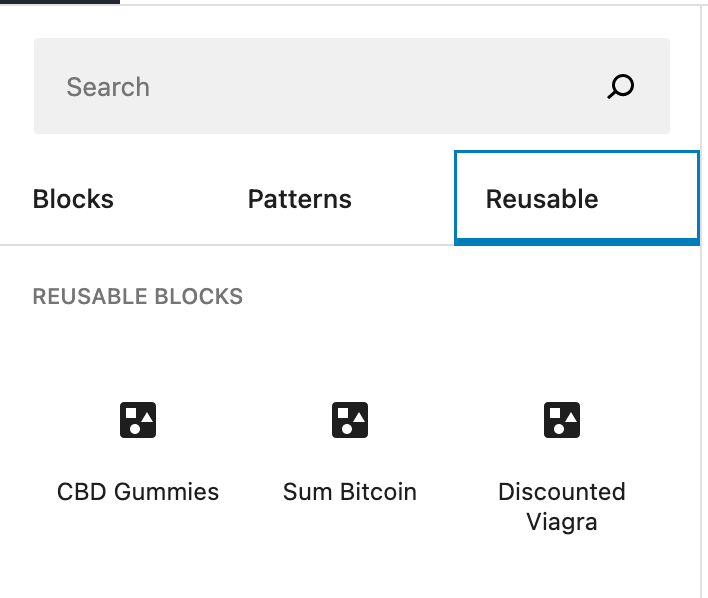
You can manage these blocks by clicking the “Manage All Reusable Blocks” link in the block editor. This will take you to a list of all blocks, where you can edit or delete them as needed. However, it would be even more convenient if this link were available in the WordPress admin menu.
On this website I have made a reusable block that contains multiple “portfolio” blocks – a custom block I built usig advanced custom fields.

Adding Reusable Blocks to the Admin Menu
To add “Reusable Blocks” to the WordPress admin menu, you can use the following code. Add this code to your theme’s functions.php file.
/**
 * Blocks accessible in backend
 * @link https://www.billerickson.net/reusable-blocks-accessible-in-wordpress-admin-area
 *
 */
function be_reusable_blocks_admin_menu() {
    add_menu_page( 'Reusable Blocks', 'Reusable Blocks', 'edit_posts', 'edit.php?post_type=wp_block', '', 'dashicons-editor-table', 22 );
}
add_action( 'admin_menu', 'be_reusable_blocks_admin_menu' );
This code adds a “Reusable Blocks” link to your WordPress admin menu. You can now click to see the full listing and edit them.

Benefits of Reusable Blocks
- Consistency: Ensures uniform content across multiple pages.
- Efficiency: Save time by updating content in one place.
- Ease of Management: Manage content blocks just like any other post type.
- Flexibility: Easily insert complex content layouts across different pages.
- Enhanced User Experience: Maintain a consistent design and message, improving the overall user experience.
- Efficiency: Save time by reusing frequently used content.
- Centralized Updates: Make updates in one place to apply changes across your site.
Using the Plugin
To simplify this process even further, I’ve developed a plugin that adds the “Reusable Blocks” functionality to the admin menu without needing to edit any code. This plugin makes it easy to manage your reusable blocks directly from the WordPress admin area.
Conclusion
Reusable blocks are a powerful feature in the Gutenberg editor that can significantly streamline your content management process. By making blocks accessible in the WordPress admin area, you can more easily manage and update your site-wide content. Follow the steps outlined in this guide to add reusable blocks to your admin menu and enhance your workflow.

