WPForms custom column markup using hooks and custom code. Achieve complex multi-column layouts easily to improve your form design.
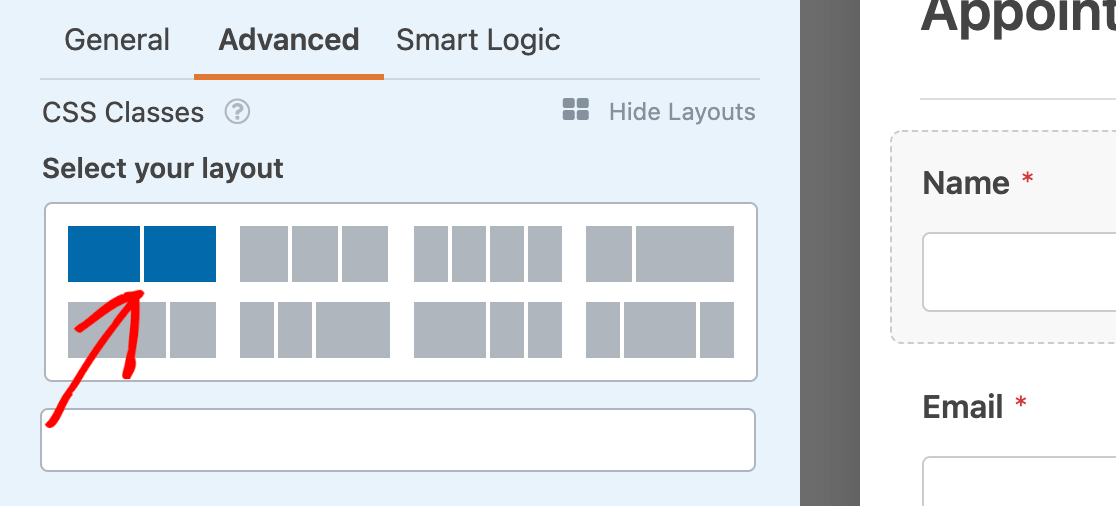
WPForms includes a visual layout builder for creating multi-column forms, but it only supports breaking individual fields into columns. For more complex layouts where multiple fields are grouped into a column, wpforms custom column markup is necessary.
To achieve this, you can use the wpforms_display_field_before and wpforms_display_field_after hooks to insert HTML markup before and after specific fields. These hooks provide two parameters:
- $field – Contains the settings for the particular field.
- $form_data – Contains the settings for the entire form.

Step 1: Style Your Form
First, add the necessary CSS (or SASS) to style your form. Here’s an example using SASS with mixins similar to Bootstrap 3:
.wpforms-container#wpforms-57 {
    .wpforms-field-container {
        @include make-row;
        .wpforms-field-container-left,
        .wpforms-field-container-right {
            @include make-sm-column(12);
            @include make-md-column(6);
        }
    }
}
This CSS divides the WPform into two columns: the left column for fields like First Name, Last Name, Company Name, and Phone Number, and the right column for a textarea.
Step 2: Add wpforms custom column markup with Hooks
Next, use the following PHP code to add wpforms custom column markup. Add this code to your theme’s functions.php file or a custom plugin:
/**
 * Insert custom markup before fields to create two columns
 *
 * @param array $field Sanitized entry field values/properties.
 * @param array $form_data Form settings/data.
 */
function custom_contact_form_two_column_open( $field, $form_data ) {
    if ( 57 != $form_data['id'] )
        return;
    if ( 1 == $field['id'] )
        echo '<div class="wpforms-field-container-left">';
    if ( 6 == $field['id'] )
        echo '</div><div class="wpforms-field-container-right">';
}
add_action( 'wpforms_display_field_before', 'custom_contact_form_two_column_open', 1, 2 );
/**
 * Close custom markup after fields to complete the two columns
 *
 * @param array $field Sanitized entry field values/properties.
 * @param array $form_data Form settings/data.
 */
function custom_contact_form_two_column_close( $field, $form_data ) {
    if ( 57 != $form_data['id'] )
        return;
    if ( 6 == $field['id'] )
        echo '</div>';
}
add_action( 'wpforms_display_field_after', 'custom_contact_form_two_column_close', 99, 2 );
How It Works
- The function
custom_contact_form_two_column_openchecks if the form ID matches the specified ID (57). - If it matches, it inserts a
<div>with the classwpforms-field-container-leftbefore the field with ID 1 (First Name). - Before the field with ID 6 (Comments or Questions), it closes the left container and opens a new container with the class
wpforms-field-container-right. - The function
custom_contact_form_two_column_closeensures the right container is closed after the Comments or Questions field.
Benefits of enhancing wpforms custom column markup
- Enhanced Layout Control: Achieve precise control over your form layout by grouping fields into columns.
- Improved User Experience: Create more organized and visually appealing forms.
- Increased Flexibility: Customize forms beyond the capabilities of the visual layout builder.
- Efficient Space Utilization: Make better use of form space, especially on larger screens.
- Consistent Design: Maintain a consistent design language across various forms on your site.
- Streamlined Workflow: Simplify complex form structures for easier user navigation and completion.
- Enhanced Form Functionality: Add functionality that standard WPForms custom column layouts can’t achieve, improving the overall effectiveness of your forms.
Detailed Example Implementation
Let’s dive deeper into the implementation of wpforms custom column markup process with a detailed example.
Imagine a contact form where you want to group fields like First Name, Last Name, Company Name, and Phone Number into a left column and have a textarea field for Comments or Questions in a right column. Here’s how you can achieve this.
Step 1: Define Your Styles
Add the following SASS code to your stylesheet to define the layout:
scssCopy code.wpforms-container#wpforms-57 {
    .wpforms-field-container {
        @include make-row;
        .wpforms-field-container-left,
        .wpforms-field-container-right {
            @include make-sm-column(12);
            @include make-md-column(6);
        }
    }
}
This code uses mixins to create a responsive layout where each column takes up half the width on medium and larger screens.
Step 2: Include Hooks for wpforms custom column markup
Insert the following PHP code into your theme’s functions.php file:
phpCopy code/**
 * Insert custom markup before fields to create two columns
 *
 * @param array $field Sanitized entry field values/properties.
 * @param array $form_data Form settings/data.
 */
function custom_contact_form_two_column_open( $field, $form_data ) {
    if ( 57 != $form_data['id'] )
        return;
    if ( 1 == $field['id'] )
        echo '<div class="wpforms-field-container-left">';
    if ( 6 == $field['id'] )
        echo '</div><div class="wpforms-field-container-right">';
}
add_action( 'wpforms_display_field_before', 'custom_contact_form_two_column_open', 1, 2 );
/**
 * Close custom markup after fields to complete the two columns
 *
 * @param array $field Sanitized entry field values/properties.
 * @param array $form_data Form settings/data.
 */
function custom_contact_form_two_column_close( $field, $form_data ) {
    if ( 57 != $form_data['id'] )
        return;
    if ( 6 == $field['id'] )
        echo '</div>';
}
add_action( 'wpforms_display_field_after', 'custom_contact_form_two_column_close', 99, 2 );
In this example, the functions check if the form ID is 57 to ensure the custom markup only affects the intended form. The first function opens a left column container before the field with ID 1 and switches to a right column container before the field with ID 6. The second function closes the right column container after field ID 6.
Conclusion
Inserting wpforms custom column markup into WPForms allows you to create more complex and visually appealing form layouts. By leveraging the wpforms_display_field_before and wpforms_display_field_after hooks, you can easily group multiple fields into columns, enhancing the overall user experience. Follow the steps outlined in this guide to implement custom column markup in your WPForms and take your form design to the next level.

